
Urbex photography tips only matter if they help you come back with sharp images without turning a location into a reckless checklist. Abandoned buildings are dark, uneven, dusty and often changing; good photos start before the camera leaves the bag.
This guide focuses on practical shooting decisions: camera settings, light control, composition, route preparation and respectful image selection. Use it with a private map workflow, not as an invitation to trespass or reveal fragile places. If you are still building routes, compare the United States urbex map, browse available urbex maps, or read the Google Earth KML guide.
Start with the shot plan, not the camera menu
The strongest abandoned-place photos usually come from a short plan: exterior context, one wide room view, two details, one texture shot and a clean exit frame. That plan prevents you from rushing through a site and also helps you avoid oversharing exact entrances, addresses or sensitive clues in the final edit.
- Exterior context: shoot wide enough to show the mood, but crop signs, house numbers and exact access points when needed.
- Main room: look for leading lines, windows, machinery, stairs or door frames that explain the space.
- Details: peeling paint, old switches, broken tiles, dust patterns and natural light often tell the story better than a full-room photo.
- Safety frame: avoid shots that require climbing, unstable floors or forcing access just to copy a popular angle.
Camera settings for low-light urbex interiors
Every location is different, but abandoned interiors often share the same problem: bright window highlights and deep shadows in the same frame. Work slowly, bracket when needed, and protect highlights before lifting shadows in editing.
| Situation | Starting setting | Why it helps |
|---|---|---|
| Handheld corridor | 1/60s or faster, f/2.8-f/4, ISO 800-3200 | Keeps motion blur under control when tripods are not practical. |
| Tripod room shot | f/5.6-f/8, ISO 100-400, slower shutter | Cleaner files and more depth when the floor is stable and legal access allows time. |
| Window + dark room | Exposure bracket, -1/0/+1 or -2/0/+2 | Captures highlight detail without turning shadows into pure noise. |
| Texture/detail | f/4-f/8, focus on the strongest line or texture | Makes decay readable without needing a dramatic wide-angle frame. |
A compact urbex photography checklist
- Check the route first. Save parking, public alternatives and exit options in a private map or KML layer.
- Pack light. Camera, wide lens, spare battery, microfiber cloth, small torch, mask and compact first-aid basics are enough for most shoots.
- Protect the file quality. Shoot RAW if possible and review highlights on the histogram, not only on the back screen.
- Keep compositions honest. Do not move objects, force doors or stage risky scenes for a stronger photo.
- Edit out sensitive clues. Blur or crop exact entrances, addresses, private plates and anything that could send crowds to a fragile location.
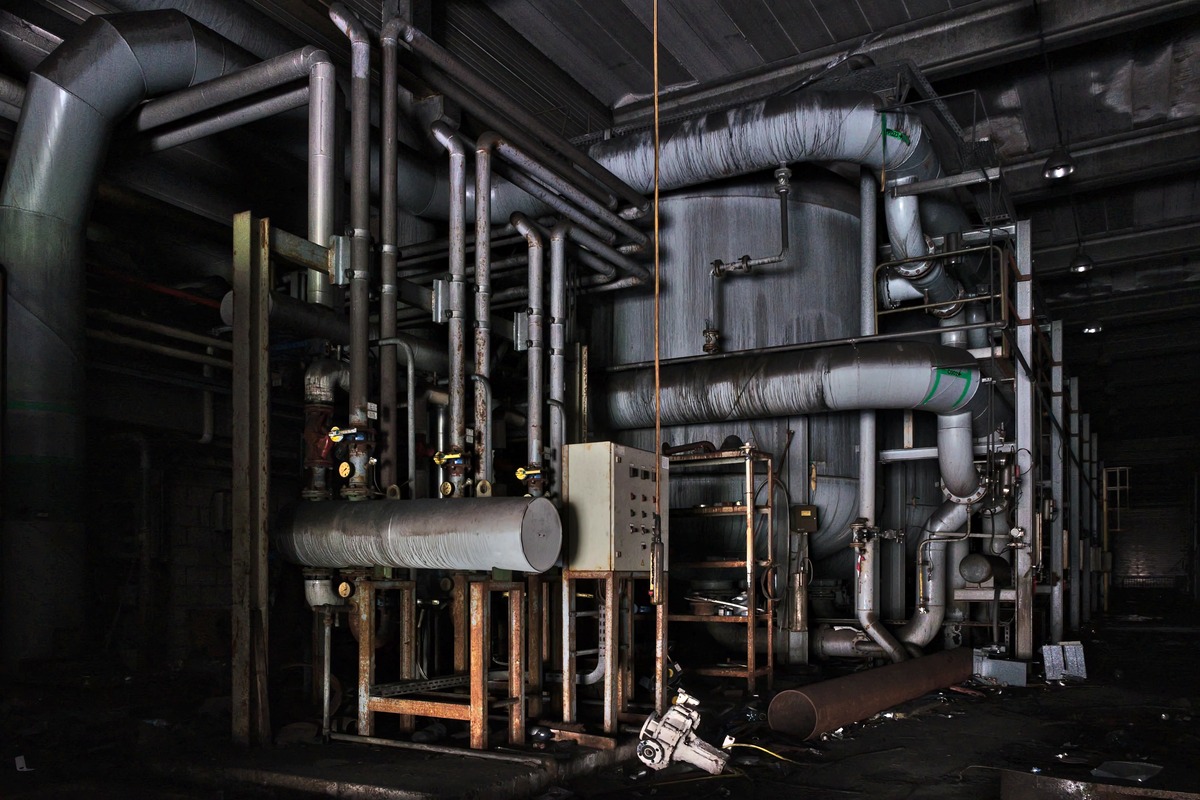
Composition: make the place readable
Wide lenses are useful in tight rooms, but they can also make every site look the same. Mix one wide establishing frame with tighter layers: a doorway into a room, a line of windows, a stair rail, a broken chair in front of a bright opening or a machine detail that explains the original use of the building.
Watch the edges of the frame. Urbex locations are visually busy, so a clean photo often comes from removing distractions: half-visible backpacks, blown windows, unreadable graffiti, modern warning signs or bright sky gaps that pull attention away from the subject.
Light: use windows before flash
Natural side light is usually more believable than direct flash. If a room has one strong window, stand slightly off-axis so the light cuts across texture instead of flattening it. In very dark spaces, a small continuous light bounced off a wall can lift shadows without making the scene look staged.
- Overcast days: softer windows, easier dynamic range, good for full rooms.
- Low sun: stronger beams and shadows, better for details and dust, but harder to expose.
- Rainy weather: richer colors and reflections, but more risk around slippery floors, roofs and basements.
- Night shoots: usually not worth the extra risk unless the site is legal, stable and familiar.
Responsible editing and sharing
The edit should improve the photo, not turn a real place into clickbait. Keep colors believable, straighten verticals when architecture is important, reduce noise gently and avoid over-sharpening dusty textures. Before publishing, check the image for location clues and personal data.
Plan the route before the shot
Urbex maps for private route planning
Use GPS-ready map files to organize leads, compare regions and prepare safer photo routes without posting exact coordinates publicly.
157,00 $
View the USA mapFAQ about urbex photography tips
What is the best camera for urbex photography?
The best camera is the one you can carry safely and use quickly. A mirrorless or DSLR body with a wide lens is comfortable, but a recent phone can work for exterior scouting and simple daylight interiors.
Do I need a tripod for abandoned buildings?
A tripod helps for clean low-ISO room shots, but it is not worth using on unstable floors, illegal access points or fast-moving situations. Safety and permission come first.
Should I share exact locations with my photos?
Usually no. Share the story, region or general context when appropriate, but avoid publishing exact coordinates, entrances or fragile details that could bring crowds or vandalism.
How do I avoid blurry urbex photos?
Use a faster shutter when handheld, stabilize your body, raise ISO when needed and take a second safety frame. For tripod shots, use a timer or remote release and check focus before leaving the room.
Useful next reads: how to find abandoned places near you safely, how to plan abandoned places routes in the USA, and how to use KML for route planning.